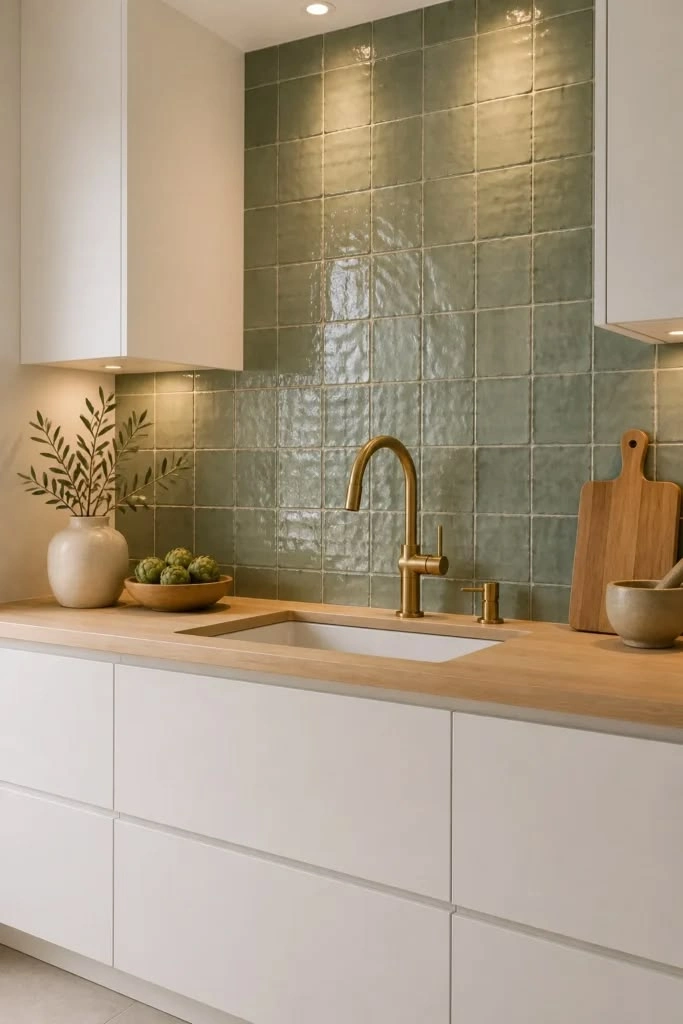
Tile Installation in Rocklin and Placer County
Whether it's a kitchen backsplash, a laundry room floor, or a full entryway install, we handle the layout, the substrate prep, the setting, and the grouting. No step gets skipped because it's inconvenient.
Call (916) 345-2607
What Tile Installation Actually Involves
Tile installation is one of those trades where the visible result is only half the story. The part that actually determines how long a tile job holds up is everything that happens before the first tile goes down: checking the substrate for flex, confirming it's level and plumb, applying the right backer board or membrane for the application, and mixing thinset to the right consistency for the tile format being used.
Large-format tiles (anything 18x18 and up) are particularly unforgiving. A subfloor that varies by more than 1/8 inch over 10 feet will cause lippage, where one tile edge rides higher than the one next to it. We use a straightedge and laser level to find high and low spots before setting starts, then flatten with self-leveling compound or grind down high points as needed. It adds time. It's worth it.
For backsplashes and wall tile, we make sure the surface is primed and that tiles are backed with a notched trowel technique that gives solid coverage without voids behind the tile. Voids lead to cracking, especially in areas with temperature change.
What's Included
- Substrate inspection and prep (leveling, backer board as needed)
- Layout planning and dry-lay before setting
- Tile cutting including miters, curves, and notches around outlets
- Thinset application with appropriate notch trowel for tile size
- Grouting with color-matched grout and sealant on porous grout types
- Cleanup and grout haze removal before we leave
Process
- Walkthrough and quote We see the space, measure it, and discuss your tile selection. Quote follows within 24 hours.
- Substrate prep Level, prime, and prepare the surface. This is often where we discover what the previous installer skipped.
- Layout and dry-lay Establish centerlines, confirm the pattern looks right from the primary sight lines, mark the floor.
- Set and grout Tile goes down in sections. Grout follows once thinset has cured, typically 24 hours minimum.
- Final cleanup Grout haze removed, edges caulked at transitions, site cleaned before we're done.